Tutorial 1, Part 9 – Printing / Plotting
Pick here to see an online movie of Tutorial 1 Part 9
Using predefined templates and viewports makes printing a simple process. We'll do a quick print of this scene:
Configuring the Page Setup to match your printer
Let's start by modifying the Page Layout that is already predefined with your "Letter Landscape" template so that it will work with your printer:
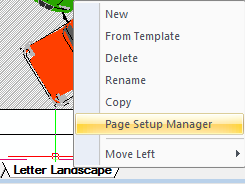
Right click on the "Latter Landscape" tab and select "Page Setup Manager:"
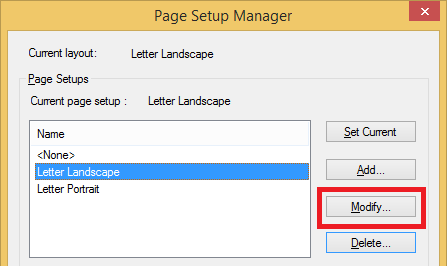
Select "Letter Landscape" and "Modify:"
Now configure your print dialog as below:
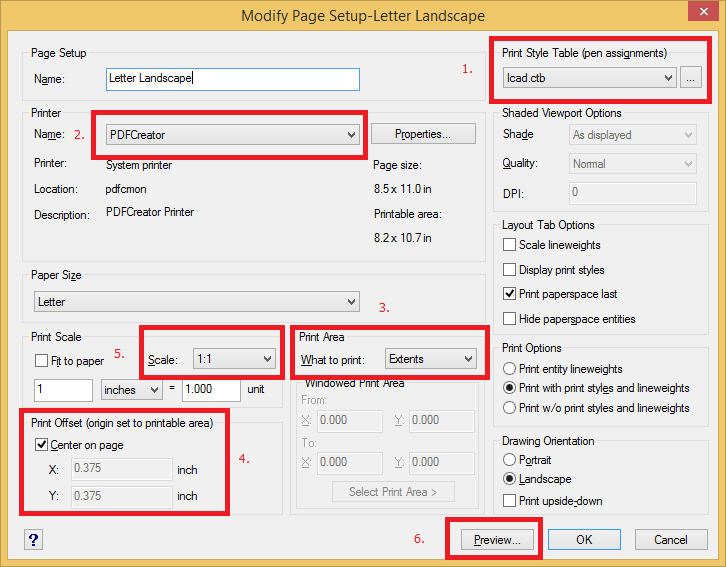
1. Pick the "Printer Name:" pulldown and select a printer that is connected to your computer
2. Select a Print Style Table. Select Icad.ctb for color prints or Monochrome.ctb for black and white prints.
3. Set "Print Area" to "Extents."
4. Check on "Center on Page"
5. ALWAYS set "Print Scale" to:
- 1 inches = 1.000 unit for US Feet and Intentional Feet drawings
- 1 mm = .001 unit for metric drawings
- It is not necessary to change any other scaling options as all scaling is done with the viewport settings.
6. Finally, pick the "Preview" button to see what your print will look like:
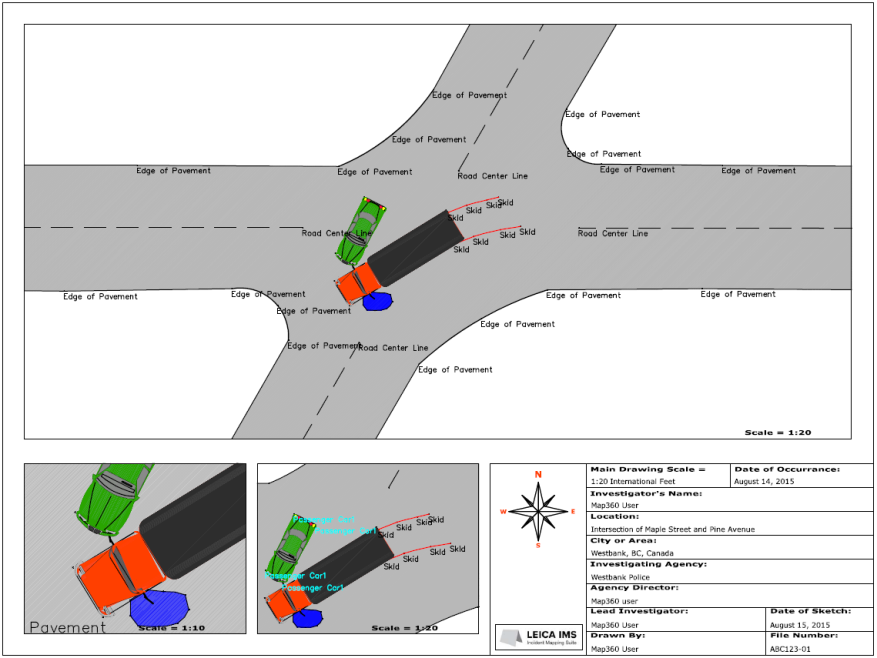
Print Preview
Printing
If everything looks right , you can either select "Print" from the preview dialog, or "CLOSE" and then "OK" to save the changes you have made to your page setup. Saving the drawing at this stage will preserve the options you have defined.
If necessary, add the print icon to your "Quick access" toolbar:
![]()
While you are viewing your template pick the Print icon and anytime to preview, reconfigure, or print again:
Save
Pick the "Save" button to save your work: