Tutorial 1, Part 3c – Automated Linework
Pick here to see an online movie of Tutorial 1 Part 3c
The points entered either manually in Part 3a or by importing an ASCII file in Part 3b were collected and coded using SDRMap coding to describe the linework as part of the point descriptions.
SDRMap coding Linework Generation
The Descriptions and Linework Codes used in this Scene are:
| Code | Details |
|---|---|
| EP1 | Edge of pavement 1 – Standard Shot |
| EP1 EC | Edge of pavement 1 – End Curve |
| EP1 ST | Edge of pavement 1 – Start Line |
| EP1 STCV | Edge of pavement 1 – Start Curve |
| EP2 | Edge of pavement 2 – Standard Shot |
| EP2 EC | Edge of pavement 2 – End Curve |
| EP2 ST | Edge of pavement 2 – Start Line |
| EP2 STCV | Edge of pavement 2 – Start Curve |
| EP3 | Edge of pavement 3 – Standard Shot |
| EP3 EC | Edge of pavement 3 – End Curve |
| EP3 ST | Edge of pavement 3 – Start Line |
| EP3 STCV | Edge of pavement 3 – Start Curve |
| EP4 | Edge of pavement 4 – Standard Shot |
| EP4 EC | Edge of pavement 4 – End Curve |
| EP4 ST | Edge of pavement 4 – Start Line |
| EP4 STCV | Edge of pavement 4 – Start Curve |
| SKID1 | Skid Mark 1 – Standard Shot |
| SKID1 ST | Skid Mark 1 – Start Line |
| SKID2 | Skid Mark 2 – Standard Shot |
| SKID2 ST | Skid Mark 2 – Start Line |
| TRK_AXL | Truck location |
| VEH1 | Car location |
| W | Water – Standard Shot |
| W CLS | Water – Close to first shot |
| W ST | Water – Start Line |
| CL | Center Line |
| CL ST | Center Line – Start Line |
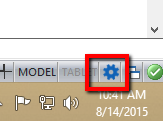
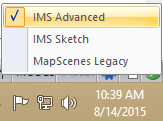
Switching to Advanced Workspace
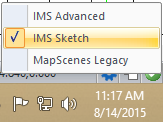
To generate the linework using the SDRMap description codes, we will need to switch to the "IMS Advanced" workspace by picking the gear icon in the bottom right corner of the screen:
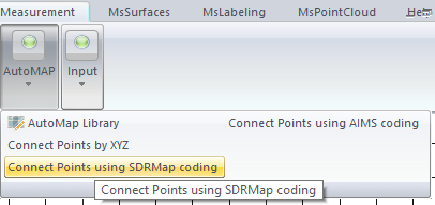
Connect Points using SDRMap Coding
Switch to the MsMeasurement Ribbon and select "Connect Points Using SDRMap coding" from the "AutoMAP group.
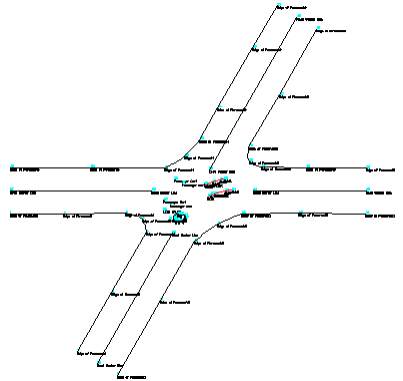
The Final Result
The coding on the points automatically generates linework as shown below. It is a simple intersection with a truck and a car that have collided. The truck has 2 skid marks and a water leak running out from under it.
Restoring the Sketch Workspace
Now that we are finished let's switch back to the Sketch workspace:
Save
Pick the "Save" button to save your work: