Tutorial 1, Part 8 – Layout Configuration
Pick here to see an online movie of Tutorial 1 Part 8
IMS Map360 comes preconfigured with two drawing templates, and you can create additional custom ones using IMS Map360 if required.
Layout Space
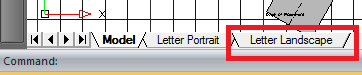
To view our drawing in the preconfigured Letter Landscape template, select the paper space tab at the bottom of your drawing:
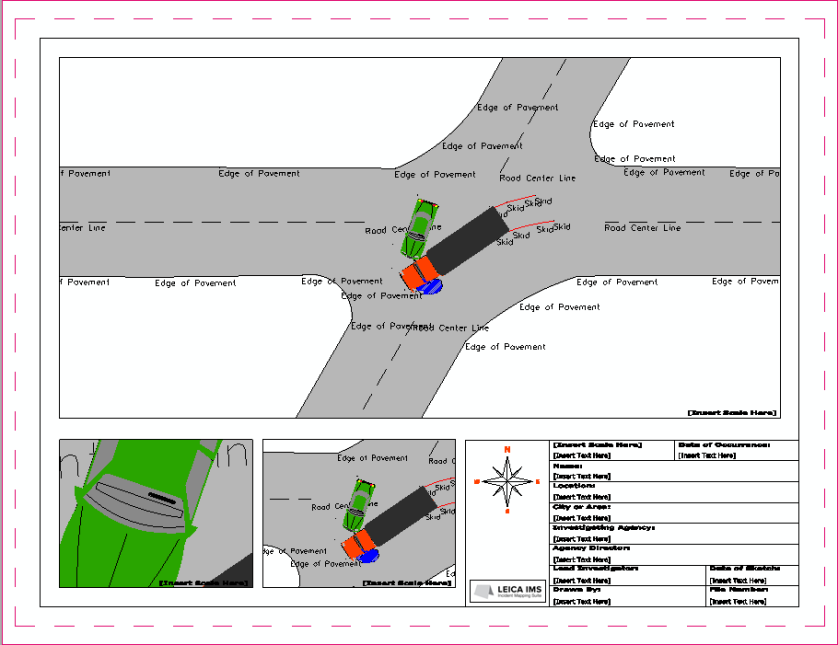
A preview of your drawing layout will be displayed. Details of the center of the drawing have been predefined, but each can be customized.
Customizing Viewports:
Three viewports are inserted into this template, each one with a different scale to display different details in the scene. Each viewport layout can be customized by double clicking inside the square so that the border highlights:
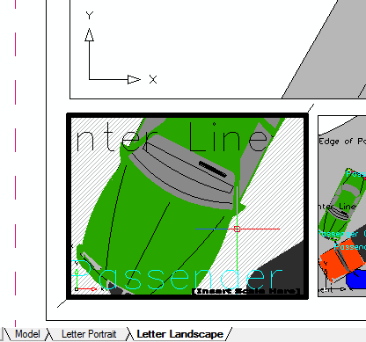
Now you can use the same zooming and panning controls you used when creating the drawing in model space to center this viewport on a detail of the scene you would like to show:
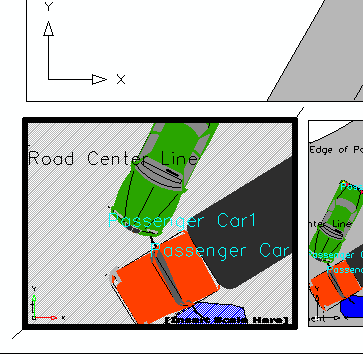
When you are finished modifying the view, double click your mouse outside of the highlighted border, or type "pspace" if you are unable to pick outside the border, and the viewport will show you the results:

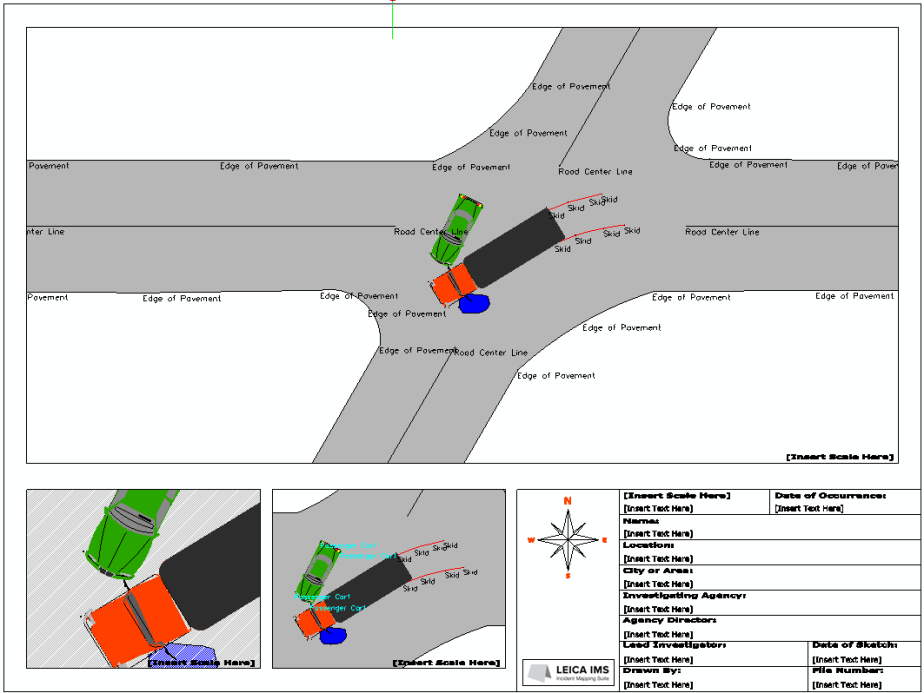
Repeat this process for the other viewports as shown below, to focus attention on other aspects of the scene:

Hiding text in selected Viewports
Depending on the level of detail each viewport is showing, you may wish to hide text that appears in a particular viewport, without hiding it in the rest of the drawing. Let's go over a simple procedure that allows you to freeze a layer in just one viewport:
To hide the layers displaying text in the bottom left viewport, change to your "Draw" ribbon. Then double click inside the viewport again:
Next, pick on the "Passenger Car 1" text. Look at the "Settings" group on your "Draw" ribbon, it is now displaying the layer that text has been created on:
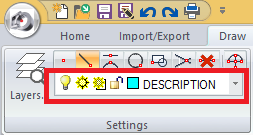
You can now selectively freeze the "DESCRIPTION" layer by picking the pulldown and picking the "Freeze in Viewport" button as shown:

Note how the "PASSENGER CAR 1" text is missing in the current viewport but still visible in all other viewports:
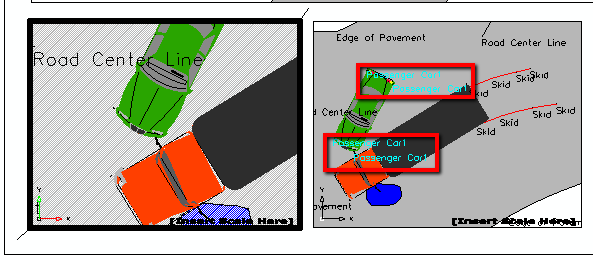
When you are finished modifying the viewport double click outside of the viewport, or type "pspace" if you can't pick outside of it. Continue selectively freezing layers until you are satisfied with the appearance:
Viewports can be individually scaled so they show different levels of detail. It is useful to know:
- It is standard practice to use "Standard" numbered scales (ie: 1:10, 1:20 etc) which are predefined in Map360. But you also have the abilityu to set user defined scales if required.
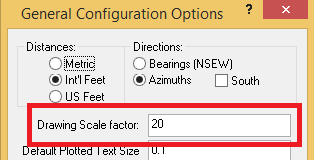
- It is standard practice to set your main viewport scale so it matches the drawing scale factor defined in the "General Configurations: dialog defined in the "Tools" area of the "Home" ribbon:
Setting Viewport Scale with the Properties Palette:
- Ensure that no viewport is active
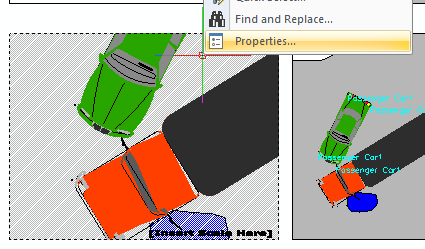
- left click the border of a viewport
- right click and select "Properties"
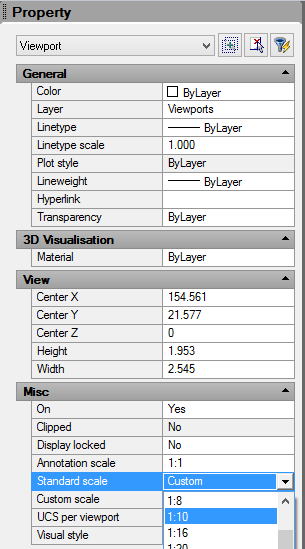
- The property palette will appear on the left of your screen. Find the "Standard Scale" field and select a scale:
Setting Viewport Scale using "Scale Layout Viewport" Function
- Ensure no viewports are active
- Find the "Layout" group on your "Draw" ribbon, pick on the pulldown and select "Scale Layout Viewport"
***************insert image
- Pick the viewport you need to scale with your mouse
- Note the prompt in the Status bar at the bottom left:

- Type in the desired scale
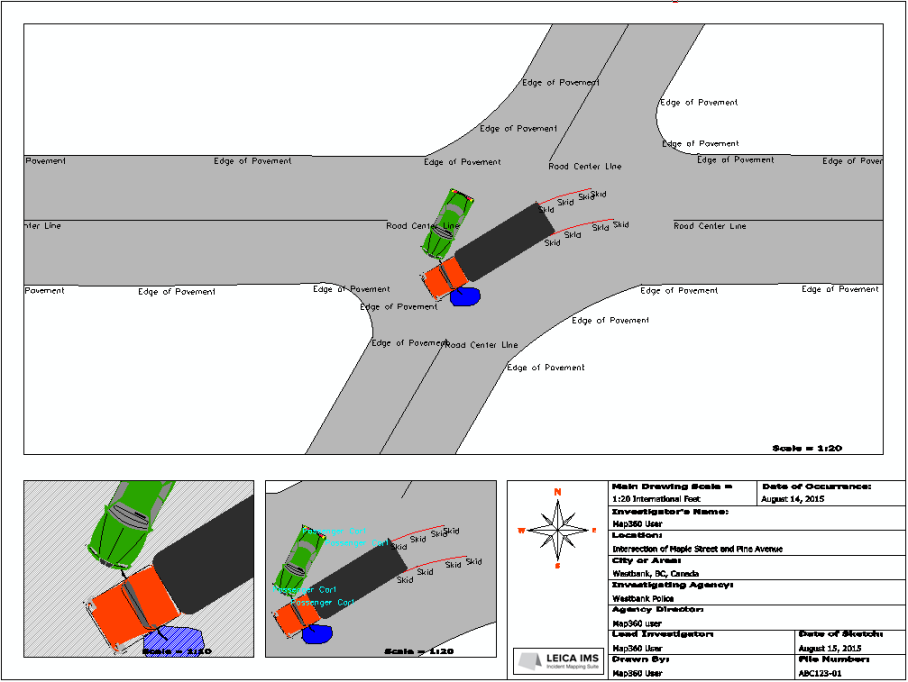
For this exercise, set the:
Main Viewport = 1:20 (the same as the Drawing Scale Factor)
Lower Left Viewport = 1:10
Lower Center Viewport = 1:20
Customizing Annotations
Next we can customize the Annotations that have been pre-defined in this template. Let's start with the viewport scale labels:
- Ensure no viewports are active
- Left click on "[Insert Scale Here]" in each viewport
- Right click and select "Edit Text"
- Set the scale labels for each viewport as below:
- Main Viewport: Scale = 1:20
- Lower Left Viewport: Scale = 1:10
- Lower Center Viewport: Scale = 1:20
- Next, edit your other annotations so they appear as below:
Save
Pick the "Save" button to save your work: