Tutorial 1, Part 6 – Hatch the Water Spill
Pick here to see an online movie of Tutorial 1 Part 6
More Hatching
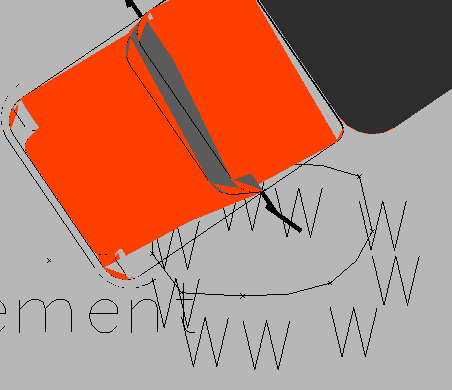
To add some more details, we want to hatch the area covered by the water spill.
Zoom in to the Water Spill area. Let's "de-clutter" this area before working on it by freezing the layer with the "W" description on it.
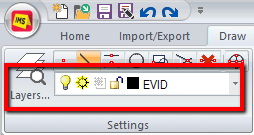
Switch to your "Draw" ribbon and then left click on one of the "W"s.
Note that in the "Settings" group that you can now see the properties of the entity which you have selected, and some of its layer settings:
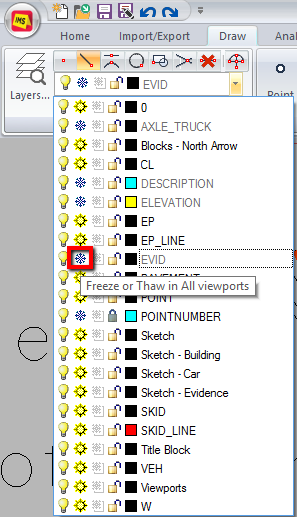
We can see that the selected item is on the "EVID" layer and that the layer is thawed. By picking the pull-down and then picking the "Freeze" icon we can freeze the layer so that it is no longer displayed. The labels will not be removed and can be restored later by accessing the same pull-down menu.
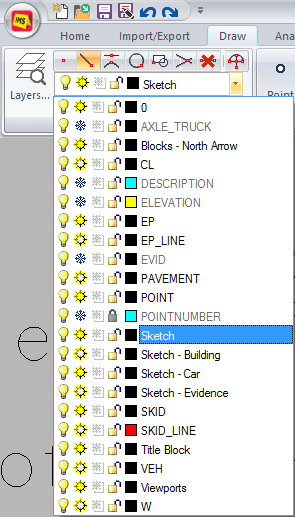
Before we draw the hatching, let's set "Sketch" as our current layer again. Pick the same pulldown as above and pick on the text that says "Sketch:"
Drawing a Boundary Hatch
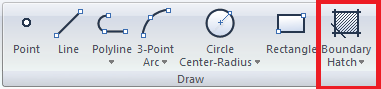
Pick "Boundary Hatch" from the Draw group, Pick the Pattern tab, and select theANSI131 pattern name.

Switch to the "Boundary" tab and pick Select Area>

The Boundary Hatch dialog will temporarily disappear. On the Status bar in the lower left corner you will see: "Specify Internal Point." Left click anywhere inside the Water spill area:
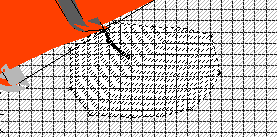
and then right click. The Boundary Hatch dialog box will then reappear. Click OK to continue.
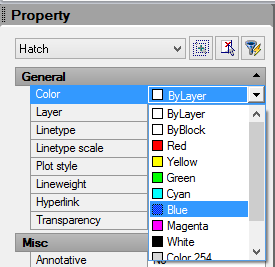
Next, let's set a different color for this hatching. Left click on the newly created hatch, right click and select "Properties"

The Entity Properties palette will appear on the left side of the screen. From the "General" properties category pick the pull down next to "Color" and pick "Blue:"
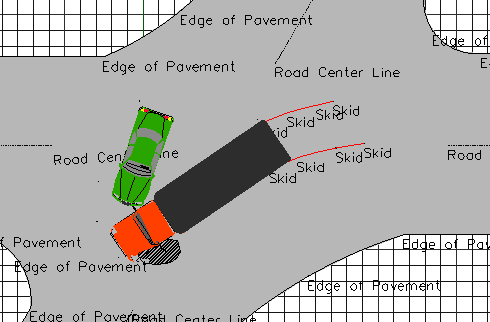
Now that you're done the hatch pattern will be drawn to the screen with the color you have chosen:

Save
Pick the "Save" button to save your work: