Tutorial 1, Part 4 – Symbol Librarian
Pick here to see an online movie of Tutorial 1 Part 4
Tips on viewing your drawing and focusing on details:
1. You can easily zoom and pan in your drawing by using a mouse and the mouse wheel:
Hold the mouse cursor over a detail you want to see more or less off and roll the mouse wheel towards yourself or away from yourself to zoom dynamically in and out.
Hold the middle mouse wheel down and drag the mouse side to side to pan through your drawing
Change to the "Home" ribbon and select tools in the "View" group:
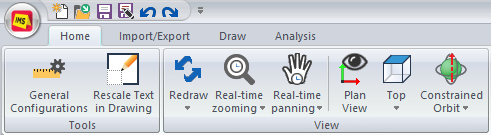
2. You can resize drawing text by selecting "Rescale Text in Drawing" from the "Tools" group on the "Home" ribbon.
Inserting a Symbol
Let's start adding to this drawing by inserting a truck symbol to match the points that locate the truck.
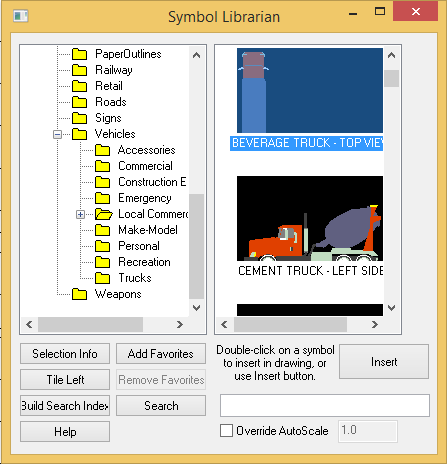
The Symbol Librarian has many categories of symbols and many symbols in each category.
![]()
- Switch to the "Draw" ribbon and clear any active entity snaps by picking the "Clear Entity Snaps" button shown above.
- Select ""Symbol Librarian" from the "Insert" group.
- Expand the Vehicles\Local Commercial folder then you will see several symbols to choose from.
- Click the symbol shown above (Beverage Truck – Top View), then click the Insert button.
- (Optional step) Close the Symbol Librarian before picking the insertion point, if it makes it easier to pick the insertion point on screen, by picking the red X in the top right corner of the Symbol Librarian.
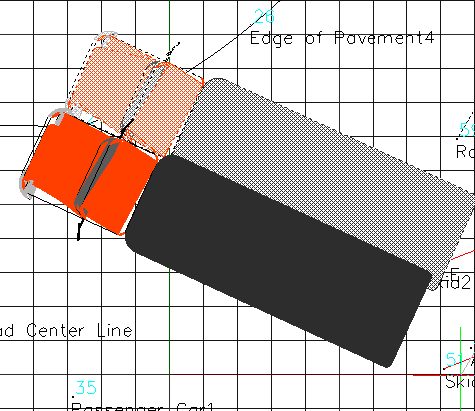
- Place your mouse onto the drawing area and click the location to insert the truck (you do not have to be accurate when first inserting the symbol because you can move and rotate it later to match the points:
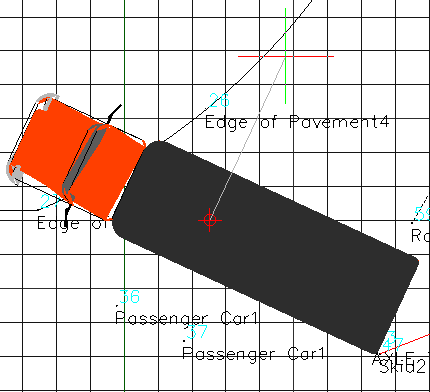
Move and Rotate as required, placing it in the correct position and orientation. The corners of the truck should align with the 4 points labeled "AXLE TRUCK."
To perform a Move operation:
1. Left click the edge of the symbol, then Right click and select "Move" from the context menu:
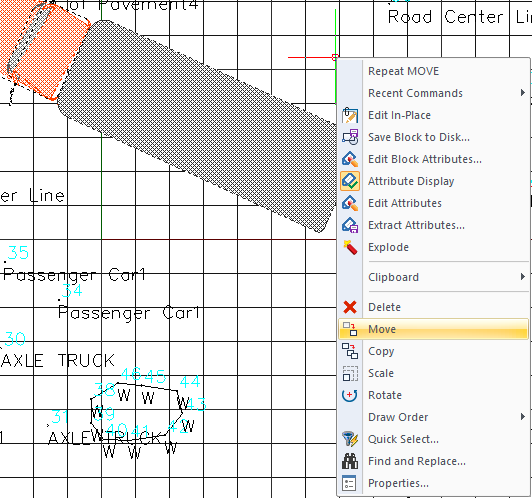
2. Left click in your drawing to define a start point, and then Left click a second time to define a destination:
To perform a Rotate operation:
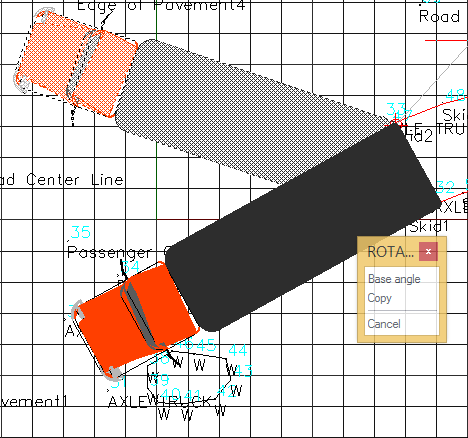
1. Left click the edge of the symbol, then Right click and select "Rotate" from the context menu:

2. Left click the rear right corner of the truck symbol to define the rotation point, then move the mouse to define the rotation angle until the front corners of the truck align with points 30 and 31:
Inserting a Second Symbol
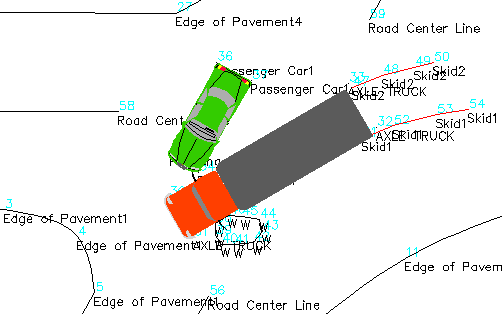
Next we can do the same steps over and this time insert the car in its correct position and orientation. Use the points labeled "Passenger Car 1" as your guide.

- Switch to the "Draw" ribbon and select ""Symbol Librarian" from the "Insert" group.
- Expand the Vehicles\Personal folder.
- Highlight the CAR - MID-SIZE - 2 DOOR - TOP VIEW symbol, then press the Insert button.
- (Optional) You can close the Symbol Librarian before picking the insertion point, if it makes it easier to pick the insertion point on screen, by picking the red X in the top right corner of the Symbol Librarian.
- Place your mouse onto the drawing area and click the location to insert the car (you do not have to be accurate when first inserting the symbol because you can move and rotate it later to match the points.
- Move and Rotate as required, placing it in the correct position and orientation, as shown. The corners of the car should line up with the 4 points labeled "Passenger Car 1." You may need to move and rotate the symbol several times to get it close enough to be considered correct. Once the car is in the correct position and orientation, it should look like this:
Save
Pick the "Save" button to save your work: