Tutorial 1, Part 3d – Import LTI CSV file
Pick here to view an online movie of Tutorial 1 Part 3d
A QuckMap 3D LTI CSV file is a file that contains points and linework which can be exported from Laser Technology's QuickMap 3D. Use QuickMap's export tool to export a csv file and use Windows Mobile Device Center to copy the file to your desktop computer. For this exercise we have provided an example which is installed with IMS Map360.
Setting the AutoMap
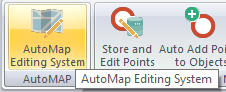
Switch to your "Import/Export" ribbon and select AutoMAP Editing System from your "AutoMAP group. The Attempt file matches your field codes to attributes that you can define for labeling in the drawing.
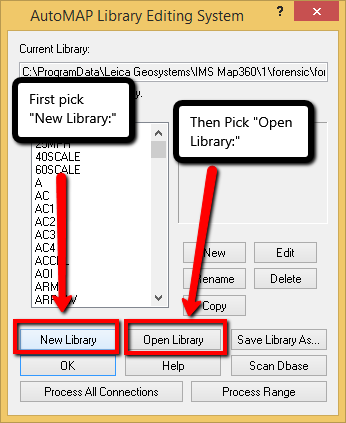
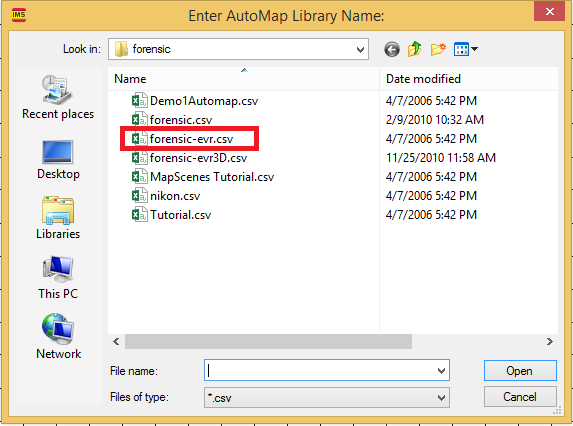
Select "Forensic-evr.csv" from the list.
Then click "Open"
Then pick "OK"
Selecting the Sample LTI File
Now select "Import LTI QuickMap 3D" from the "Coordinate Files" group to read in a file containing point coordinates and linework coding.
When you start the command you will be shown this dialog. This allows you to browse to the folder you have stored the QuickMap 3D CSV file.

For this exercise configure the dialog as shown below, then pick "Browse" and navigate to:
C:\Users\(Login)\Documents\Leica Geosystems\IMS Map360\Forensic Scenes\Tutorial LTI.csv
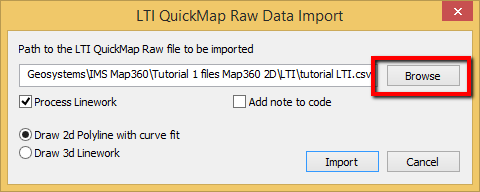
Then pick "Import."
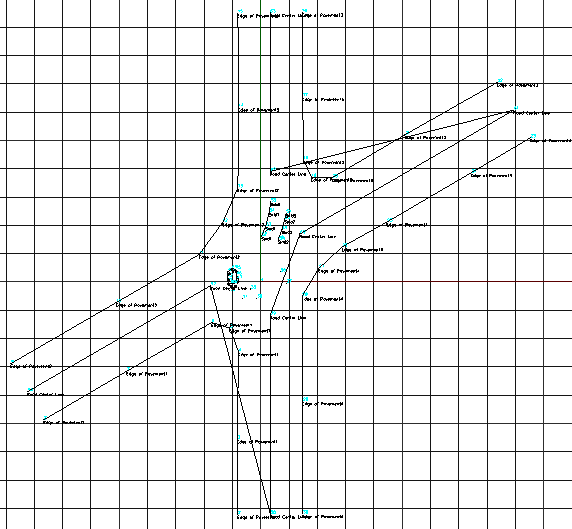
Your drawing will look like this upon import:
Use Properties Panel to modify Linetype:
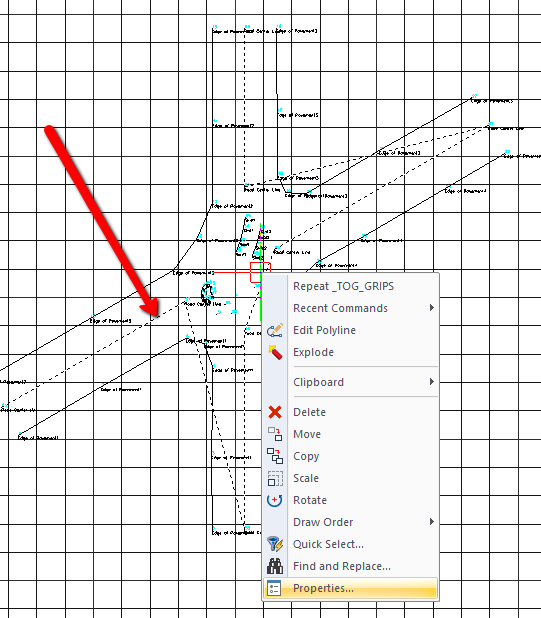
Next we're going to modify some properties. Pick on the polyline that is shown in the diagram below, right click and select "Properties:"
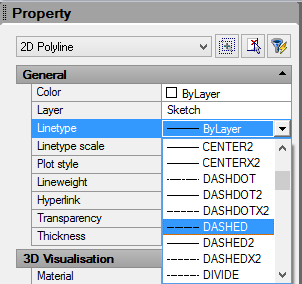
The Property Panel will appear on the left of your screen. Select the pulldown for linetype and choose "Dashed" as shown:
Exploding and removing extra Polyline Segments:
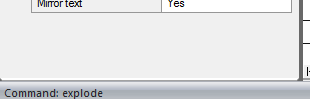
Next, type "explode," confirming that the command is understood by watching the command bar, and hit your Enter key:
This will convert the single line that represents the road center line from a single polyline into a series of individual line segments.
Next you can delete the "unwanted" line segments'
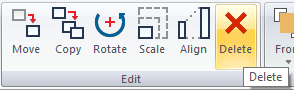
Switch to your "Draw" ribbon, and pick "Delete" from the "Edit" group:
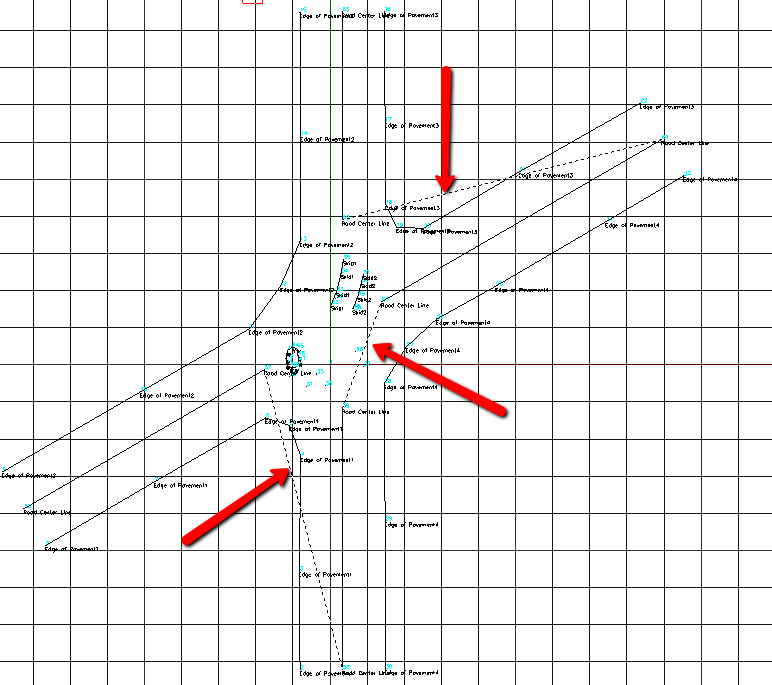
Next, left click each of the three unwanted line segments as shown below, and hit your Enter key to finish the process:
The Final Result:

AutoMap has automatically placed the points on the correct layers based upon their descriptions. The simple descriptions have also been changed so they are more descriptive in the drawing.
Save
Pick the "Save" button to save your work: