Tutorial 3, Part 7 – Layout Configuration
Pick here to see an online movie with an overview of configuring your Layout
Pick here to see a movie with an overview of Printing
IMS Map360 comes preconfigured with two drawing templates, and you can create additional custom ones using IMS Map360 if required. This allows you to quickly produce a polished diagram of your crime scene:
Layout Space
To view our drawing in the preconfigured Letter Portrait template, select the paper space tab at the bottom of your drawing:
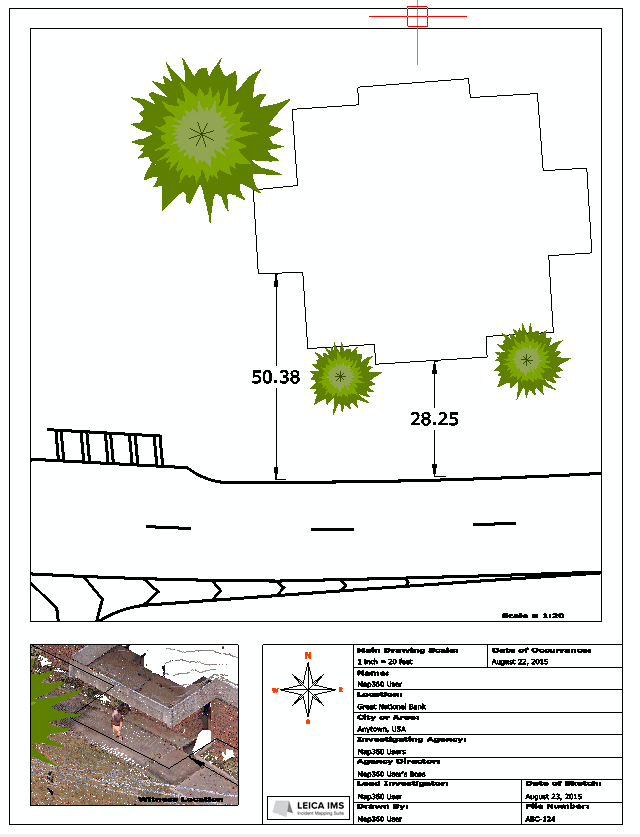
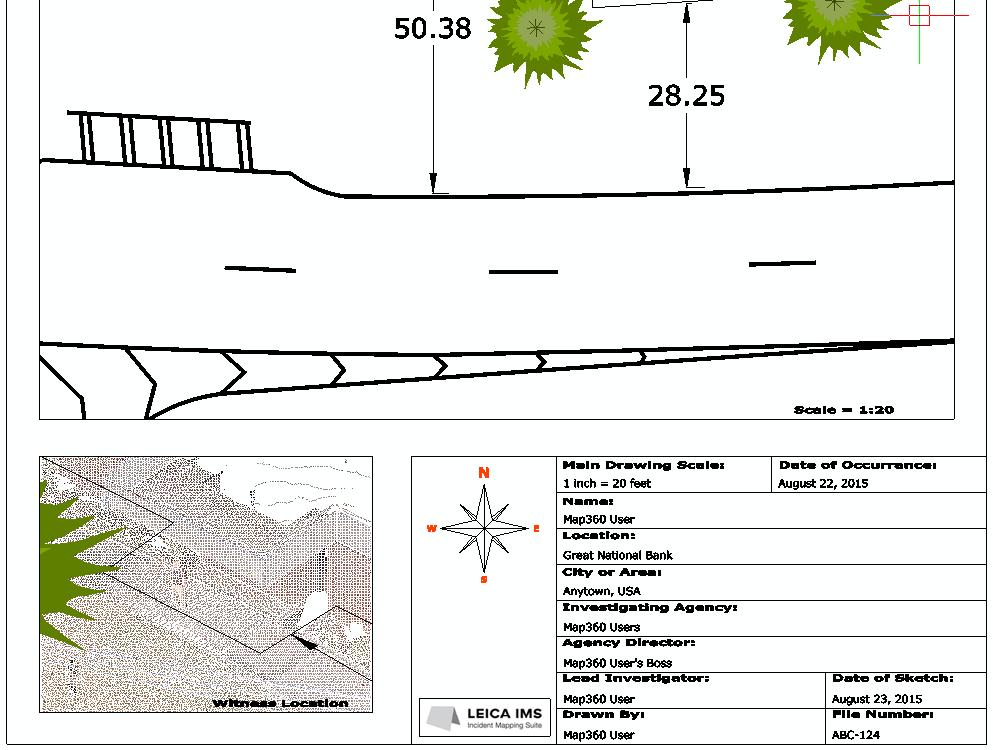
A preview of your drawing layout will be displayed. Details of the two viewports have been defined, but they can be customized. Annotations are predefined and can easily be modified.
Customizing Viewports:
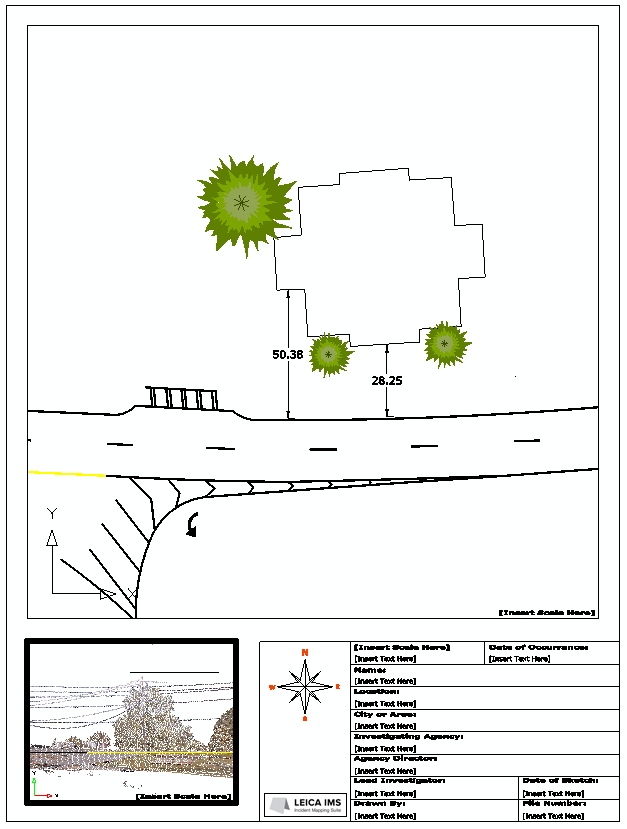
Two viewports are inserted into this template, each one with a different scale to display different details in the scene. Each viewport layout can be customized by double clicking inside the square so that the border highlights, and then zooming and panning operations will re-position the image in the viewport.
Scaling
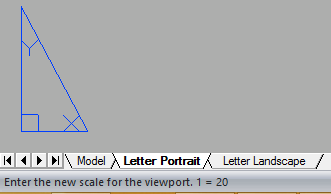
Handy Hint: Recall that we set the drawing scale factor at 1 inch = 20 feet:
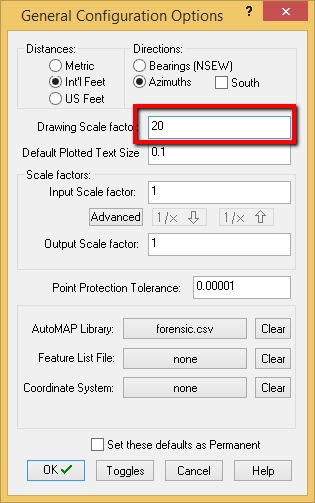
It is customary to set the main viewport scale to match the drawing scale factor, so that Text labels are sized for consistent appearance.
Scale Viewport Layout
First, let’s set the scale for the main viewport.
Ensure that no viewport is active
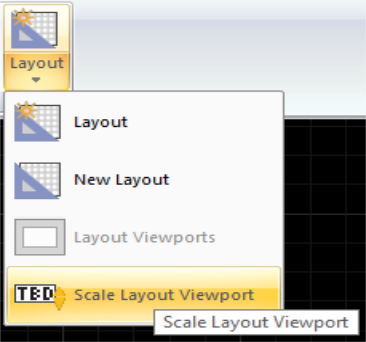
Find "Scale Layout Viewport" in the "Layouts" group on the Draw ribbon:
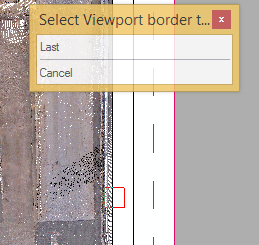
Select the main viewport by picking the edge of the rectangle as shown below:
Type 20 when prompted in the status bar:
Setting an Aerial Orientation in a Detail Viewport
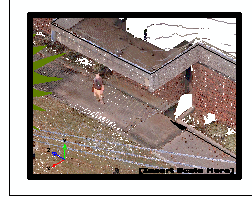
Next, let’s use the detail viewport in the lower left corner to arrange a realistic image of the drive through window at the bank.
Double click inside the lower left viewport to activate it:
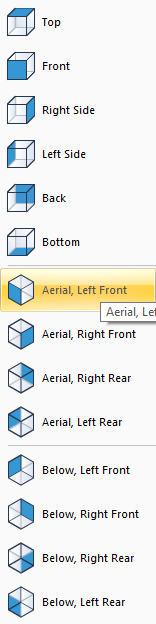
Now switch to the “Home” ribbon and select “Aerial, Left Front” from the View group:
Zoom into the drive through window part of the bank until you have a clear view of the entrance area as shown below.
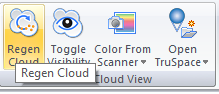
It may be necessary to pick the “Regen Cloud” button to load up maximum pointcloud density:
Once you are satisfied double click outside of the viewport, or type pspace.
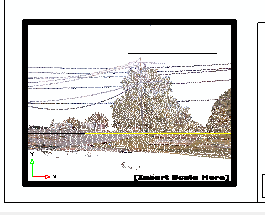
Finally, we need to customize the viewport labels and annotations in this drawing. Pick annotations, right click and then select "Modify Text." Use the image below as your guide:
Save
Pick the "Save" button to save your work:
Congratulations, you have completed the tutorial!