Tutorial 3, Part 3 - Drawing a Building
Pick here to see an online movie of Tutorial 3 Part 3
Now we can start creating our diagram. in this section we will define a limit box and then draw some 2d linework.
Using Clip and Drawing View Rotation to create an outline of the Roof
If you prefer to use the Sketch workspace you can add the PointCloud ribbon to your workspace by right clicking in the area next to the Analysis Ribbon menu:

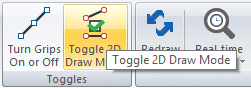
2D Draw Mode
Before we begin, we should verify that 2D draw mode is turned on. 2D Draw mode is very useful for generating a drawing in plan view andt it causes the elevation of all mouse picks to default to zero which will prevent the next function from working.
There are two ways to check this. Either pick the "Toggle 2D/3D Mode" button on the "Toggles" group of the Home ribbon:
Or pick on Scene Defaults in the "Tools" Group,
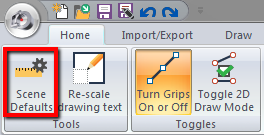
pick the "Toggles" button on the "General Configuration Options:"
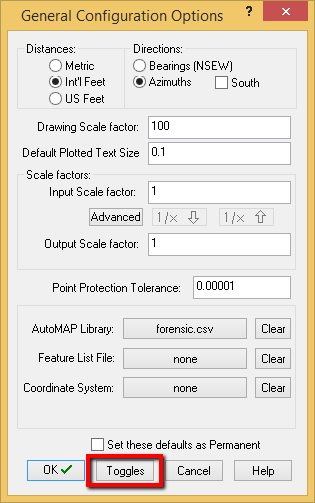
And ensure that "2D Mode" is unchecked in the system toggles.

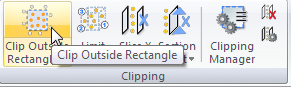
Setting a Clipping Rectangle:
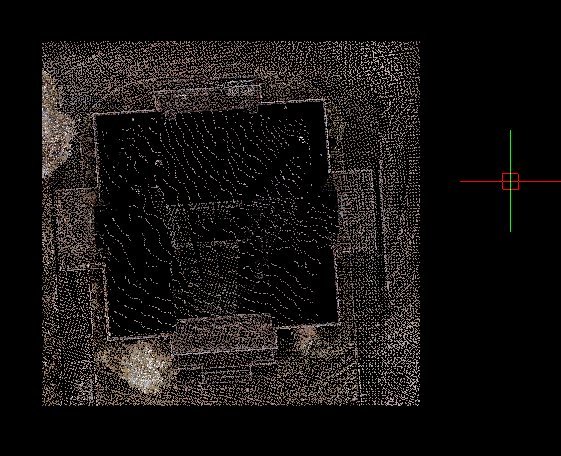
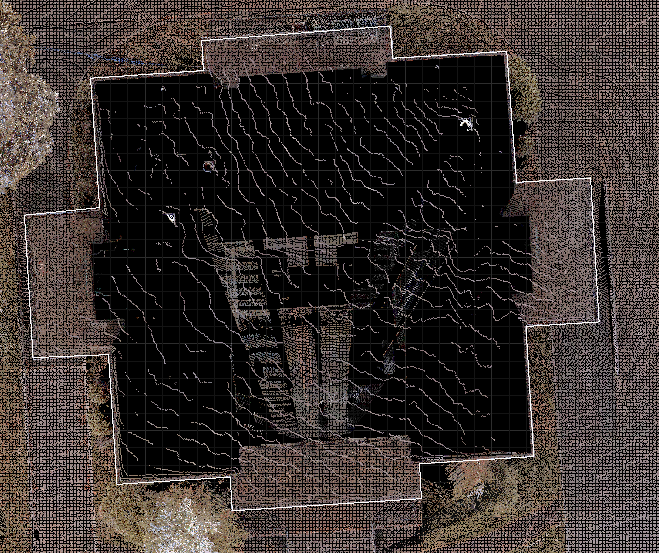
Next we're going to set a clipping rectangle that will allow us to view only the roof of the bank in this scene. Switch to the Pointcloud ribbon and find "Clip Outside Rectangle" in the "Clipping" group:
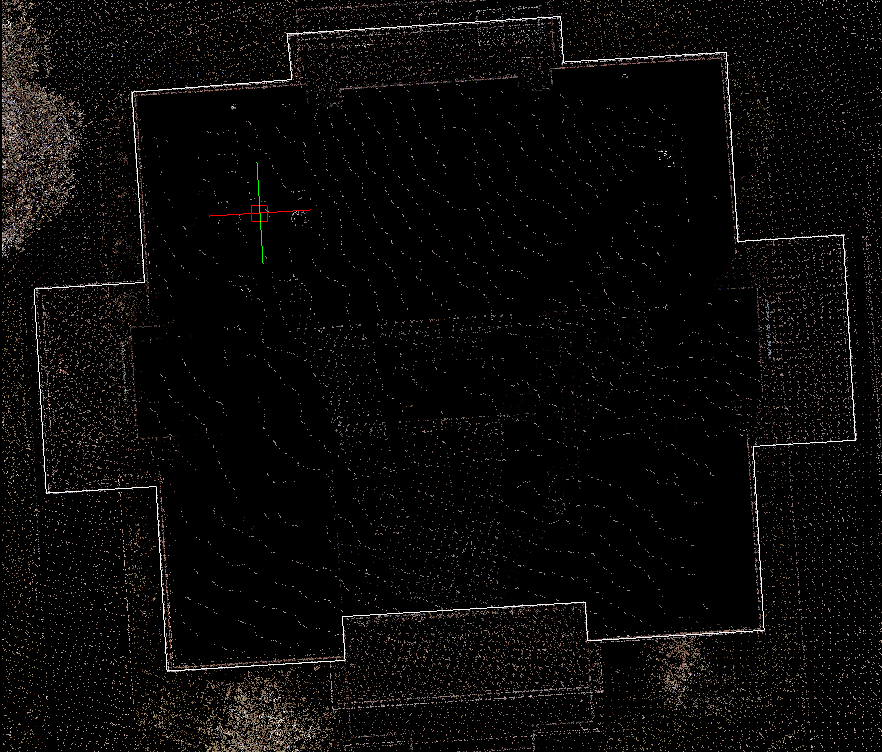
Watch the lower left corner as it prompts you to pick two points in the cloud. Create a rectangle that contains the roof of the building:

Once the limit box is applied we will see a small portion of our dataset:
Drawing View Rotation
Now let's set a Drawing View rotation and Ortho mode in order to easily draw a Polyline tracing our building roof:
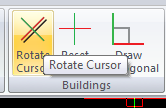
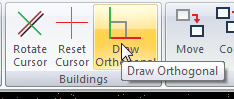
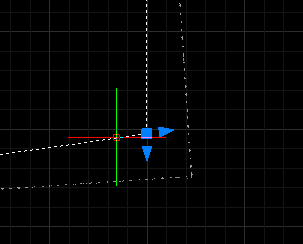
Find "Rotate Cursor" on the "Buildings" group of the Draw Ribbon:
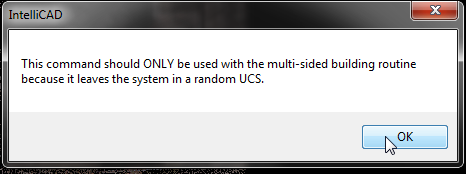
This warning is expected:
Note the prompt in the Status bar:
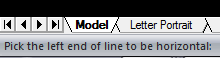
Pick a point on one of the Bank building corners:
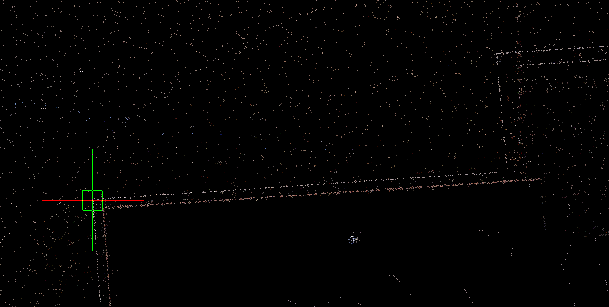
And the next Prompt:

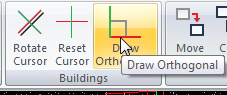
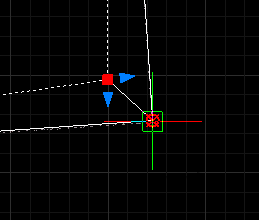
Your Cursor will appear parallel with the two points you picked. To ensure that you are drawing parallel to the cursor, pick the "Draw Orthogonal" toggle:
2D Drawing:
Now we're going to get set for drawing some 2D lines so we can see the outline of the building roof.
First, clear any running Entity snaps:
![]()
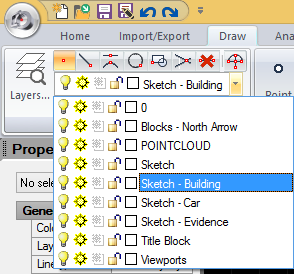
Let's set the current layer to "Sketch-Building"
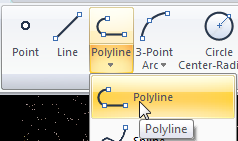
2D Polyline
Find the Polyline command on the Draw Ribbon:
Pick a place to start and work your way around the building:
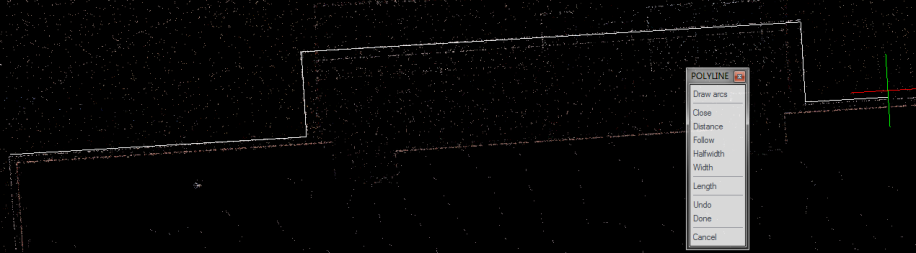
When you get back to your beginning point select "Close:"
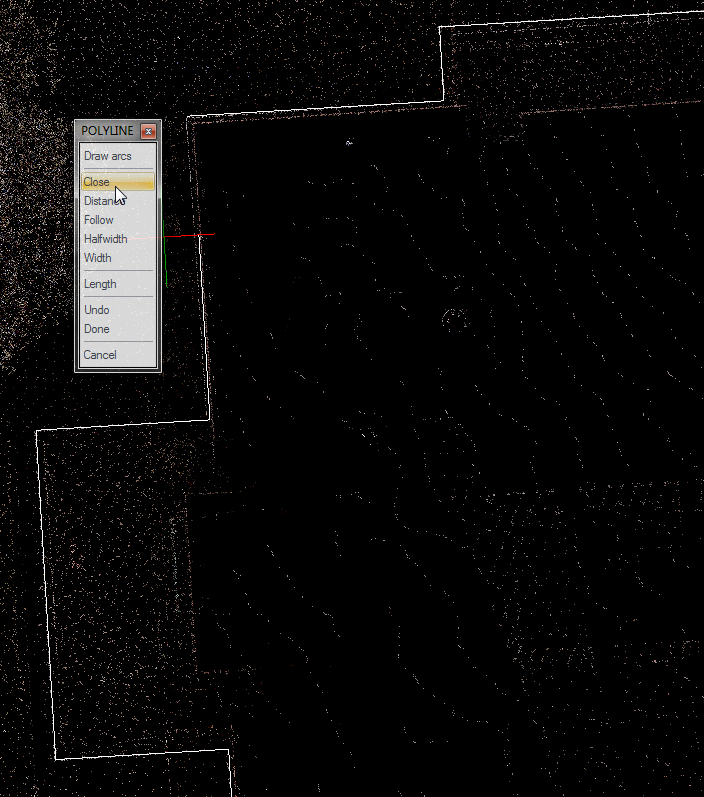
Work your way around the building, and finally pick "Close" to draw the last line back to your starting point:
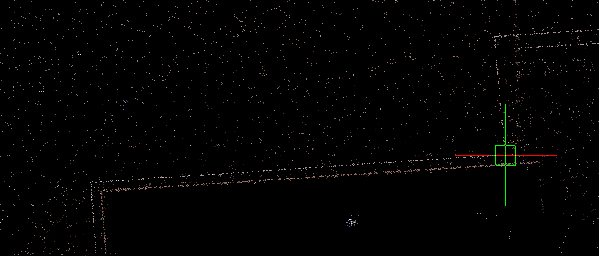
The Result:
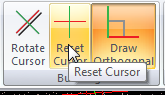
It is good practise to reset the cursor and toggle off Ortho mode when you are finished drawing buildings:
Using Grips to Edit Lines
But wait! Did I make a mistake below?

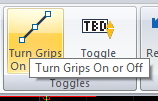
See how you can correct or refine your work using "Grips." On the Home ribbon you can see the "Turn Grips on" toggle, ensure it is compressed:
..and try picking your lines. You can move the endpoints of one or both line by picking and dragging the blue grip nodes:
Left click the grips at the endpoints, and then drag the lines back to where you want them to go. Snap to the correct node in the cloud or snap to an endpoint of another line:
Try out modifying a few lines, and then hit the escape key to clear any selected grips when you’re done.
HANDY HINT: If at any point you would like to undo an edit you have just made, hit "ctrl-z" on your keyboard.
The final result:
Save
Pick the "Save" button to save your work: