Tutorial 3, Part 4 – Using Polylines to Draw Road lines
Pick here to see an online movie of Tutorial 3 Part 4
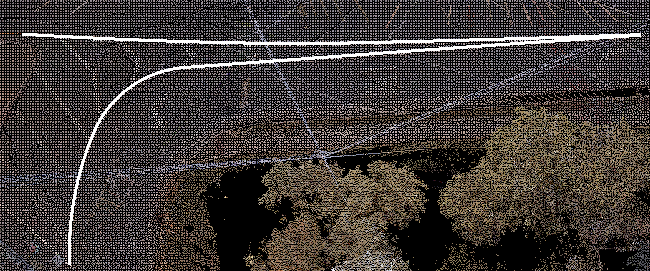
Let’s start drawing some detail along the road. Polylines are nice to work with in this case because you can draw with a variety of widths and combine lines and arcs for a smooth representation of painted road lines.
Drawing polyline line segments, arcs and thickness to show roadlines.
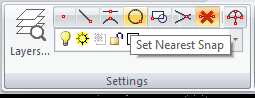
Setting your Layer and Entity Snaps:
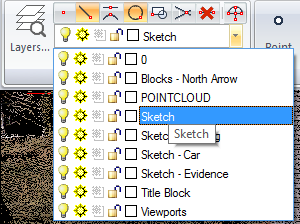
To prepare, switch to the Draw ribbon, set your current layer to “Sketch” and set the endpoint and nearest snaps on:
Let’s focus on using straight line segments on the pedestrian crossing:
Drawing straight Polylines
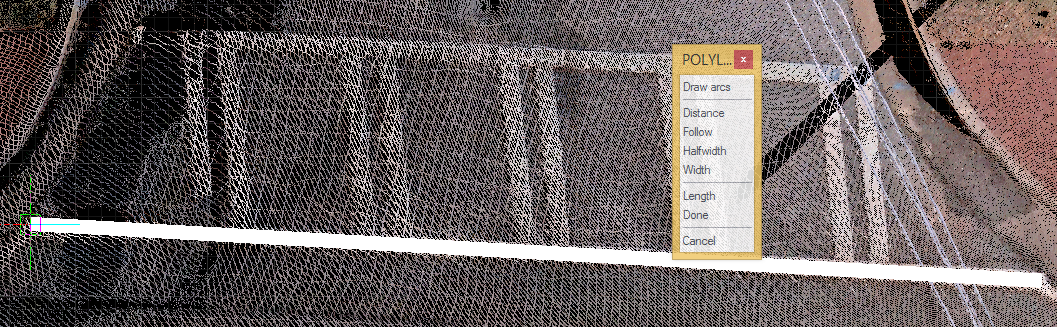
From the Draw group, select Polyline:

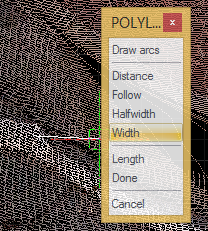
Left click to select the start. Now let’s set the width. Pick “Width” from the options menu:
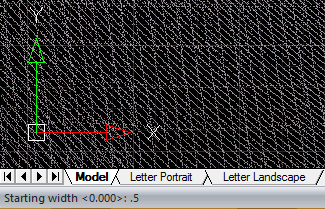
Now watch the status bar in the lower left corner for prompts. Type a starting width of .5 and hit enter:
Now set the ending width at .5 by hitting enter again:

Right click when you’re finished:
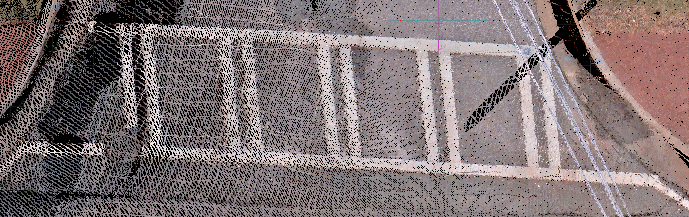
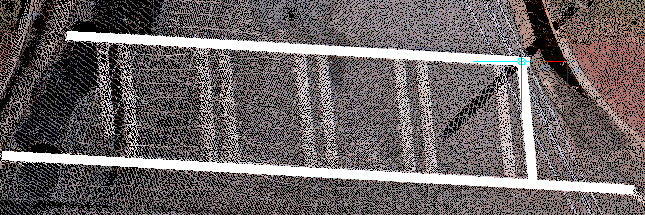
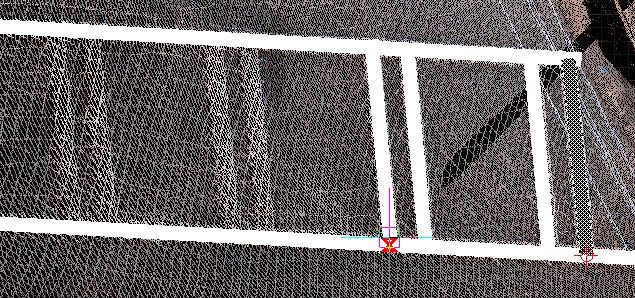
Continue drawing polylines until your pedestrian crossing looks like this:
Copying Polylines
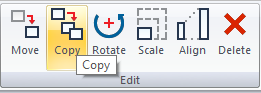
Now let’s save some effort by copying the one zebra line we’ve created. Select “Copy” from the “Edit” group on your Draw Ribbon:
Select your line by picking the edge:
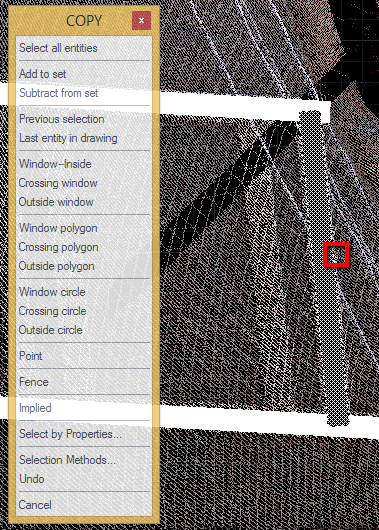
HANDY HINT: Whenever you are actively selecting entities during CAD commands, you can continue to select multiple entities until you either hit the “Enter” key or right click with your mouse.
Hit enter or right click when you’re finished selecting.
Next, note that the status bar is prompting you to select a base point for the item which you are copying.
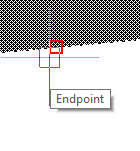
Mouse over the end of the line until you see the square "Endpoint" entity snap node:
Now you can use the “Nearest” snap to create multiple copies of your line:
Right click when you're finished.
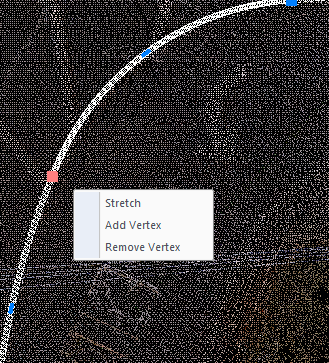
HANDY HINT: If you’d like to correct any of your lines, remember that you can use the grips:
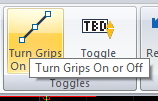
Ensure that grips are toggled on in the “Home” ribbon:
Reposition any endpoint (or vertex, if this is a multiple segment polyline) by picking the vertex grip:
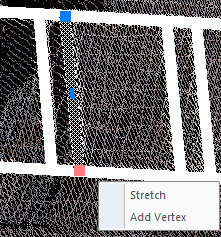
Or reposition the whole line by selecting the middle grip:
Drawing polylines with arc segments:
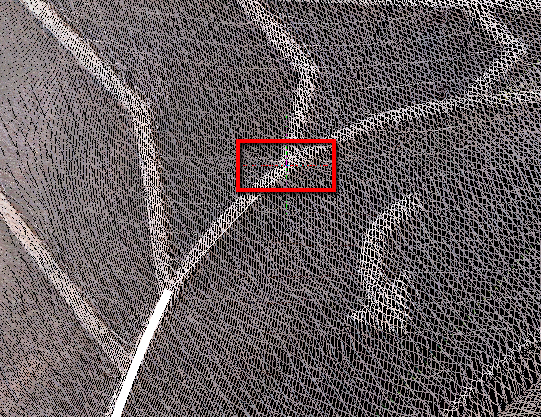
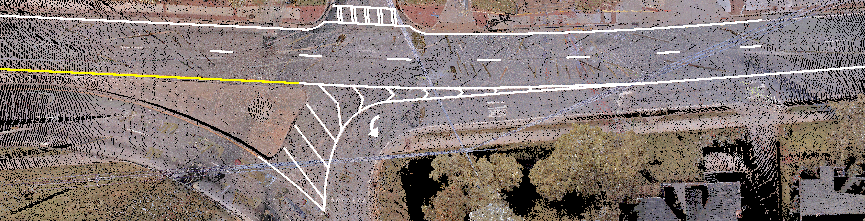
Next we’re going to draw some multiple segment polylines including arcs. The road lines opposite the bank include multiple arcs with different radii and they will be good for practice:
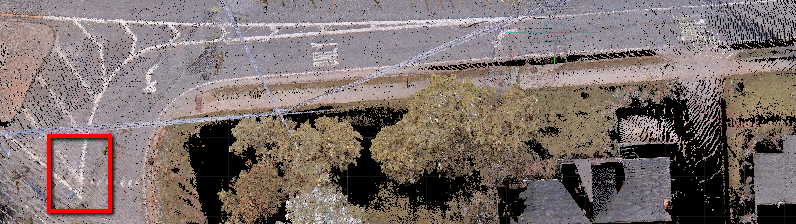
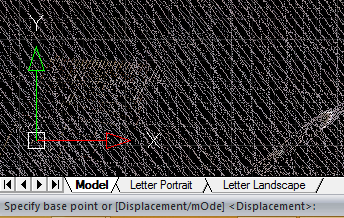
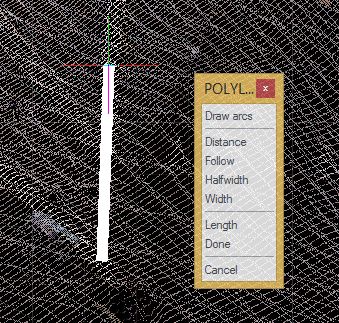
Start the polyline command as we have done before. Note that it retains your .5 width setting, and will allow you to start drawing line segments. Start your polyline in the area shown in the red square above.
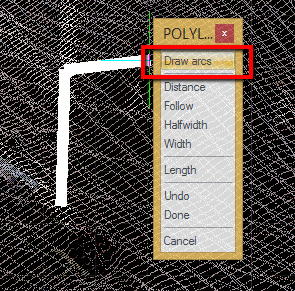
Next, switch over the “Draw arcs” by picking the option in the promptbox:
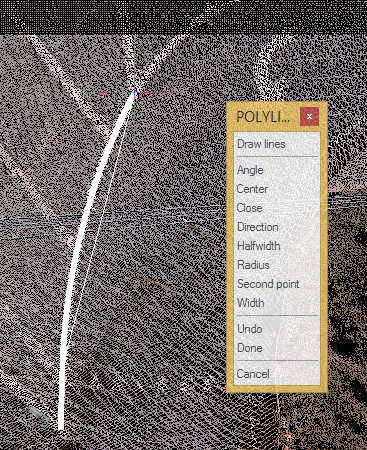
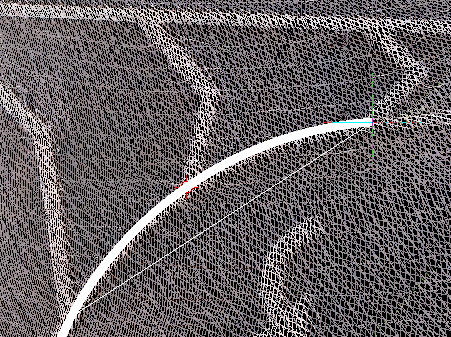
Next, move your mouse along the arc segment until you get to the point where the arc radius changes. It’s easy to see because when you go beyond that point the radius no longer matches:
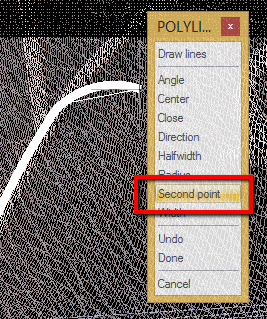
Next, let’s use another option for defining the arc. Pick “Second point” from the prompt menu:
Pick a point about half way along the next arc section:
…and then pick the point where the arc is clearly changing radius:
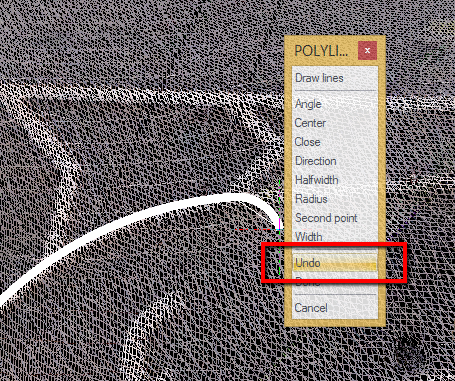
HANDY HINT: Remember that if at any point you are not happy with how your polyline is drawn you can select “Undo” from the prompt menu and reselect:
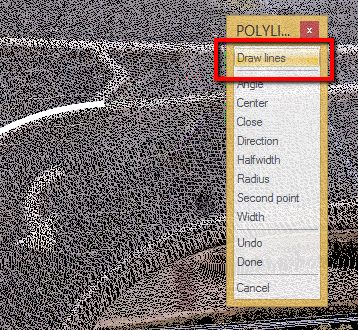
Next, let’s continue drawing this line using a combination of lines and arcs to best fit the pointcloud data.
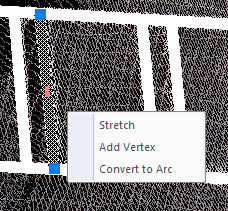
HANDY HINT: After you’ve drawn a polyline, you can use the grips to adjust its positioning:
Next, let’s fill in the rest of the straight line segments connecting the arc sections, using a combination of straight line segments and arcs. Turn the “Nearest” snap on before you begin to make it easy to connect with the arcs:
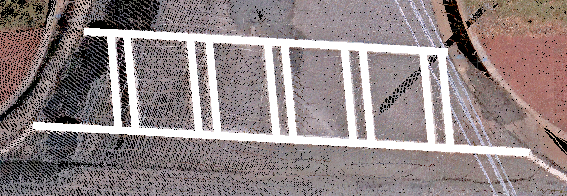
The Final Result:
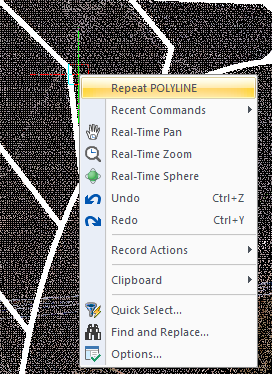
HANDY HINT: You can easily repeat a command by right clicking and pick it from the context menu that appears:
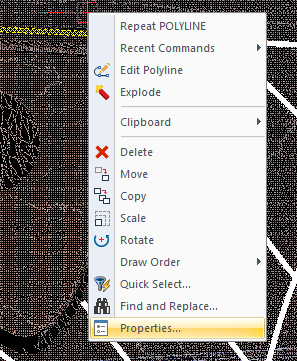
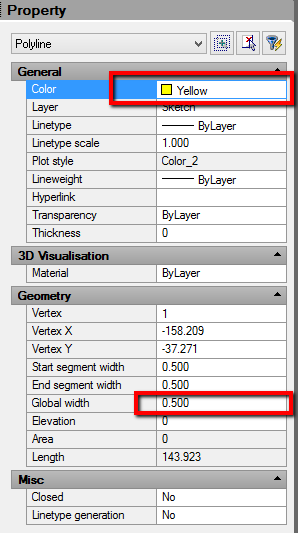
ANOTHER HANDY HINT: You can modify properties such as polyline width and colour by selecting an entity, right clicking, and selecting “Properties”
Save
Pick the "Save" button to save your work: