Stake Line/Arc
Main Menu | Staking | Stake Line
Line Toolbar |
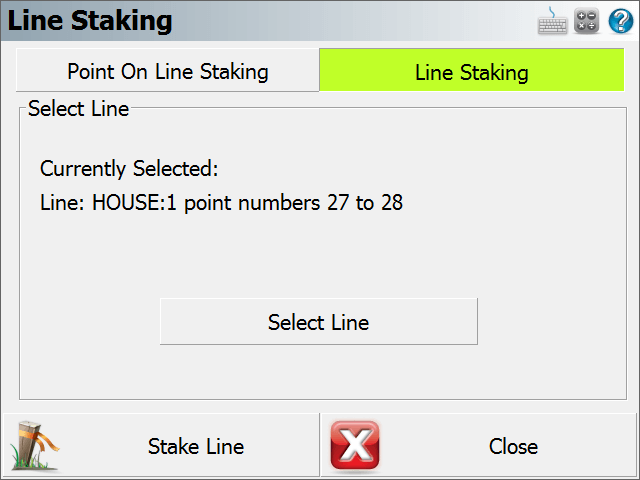
Stake Line
When you start the command from the
Press OK to continue on to the
If you want to

If you want to
When the
Staking Methods
For each of the following methods, if you are within the Tolerance setting defined in the
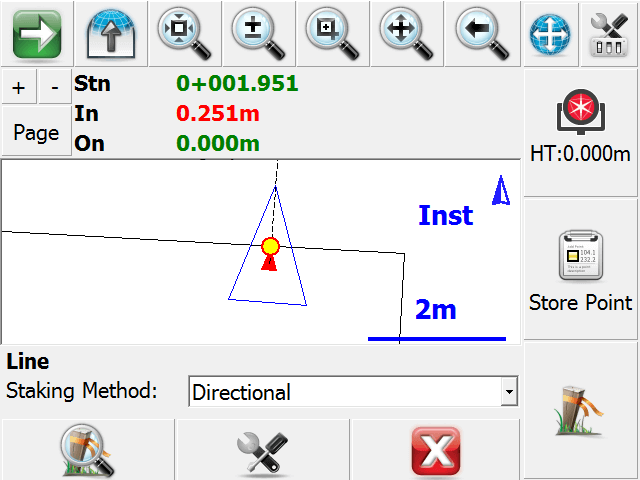
Directional
This method will display the current Station (perpendicular from the rod, as marked by a blue circle on the line), the In/Out, Left/Right, or N/S/E/W distance to the line (from the rod to the red x on the line, keeping the same horizontal angle), and the Cut/Fill distance (from the rod to the interpolated elevation of the station point marked by the blue circle, where a cut represents that the rod is higher than the interpolated station elevation, and a fill represent that the rod is lower than the interpolated station elevation) in the Observation Toolbar near the top of the screen.
When using this method, be sure to set the "Orientation Reference" option to Prism for a conventional total station, Instrument for a robotic total station
You can force FieldGenius to display either In/Out or Left/Right distances by changing the Line Mode option in the
Stationing - Absolute
This method will display the current
Stationing - Relative
This method will display the current
Note:
Please refer to the Point
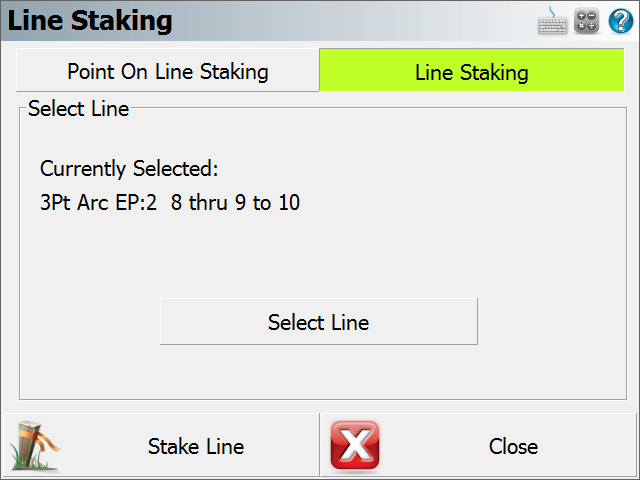
Stake Arc
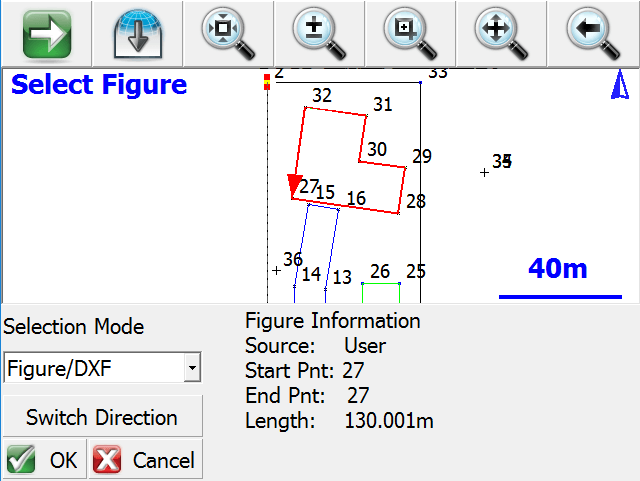
The process is identical whether staking a line or an arc - the only difference is you begin by selecting or defining an arc instead of a line.
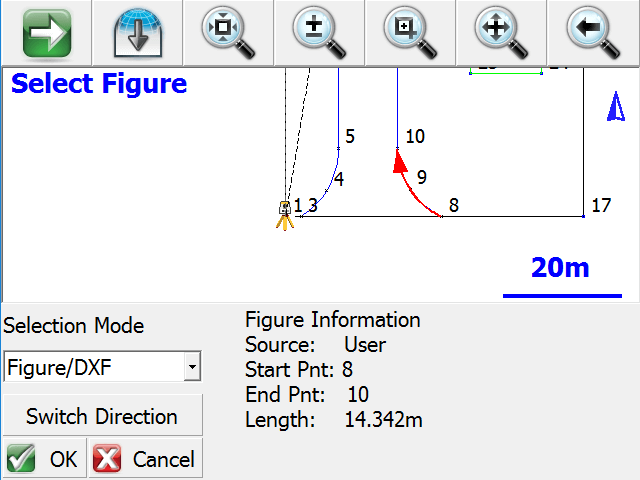
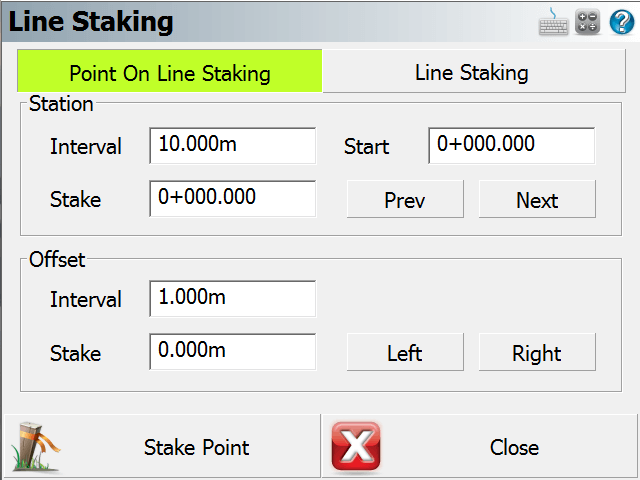
Just like staking to a line, Staking to an Arc gives the user the option to either stake anywhere along the selected arc by selecting the "Line Staking" button. Or the user can also indicate a desired point along the line by selecting the "Point On Line Staking" button and enter in a station and offset.