Quick Start: New Project
Start FieldGenius by running the icon contained either in your Start Menu or on the Desktop of your data collector.
When you start FieldGenius in demo mode the first screen is the About screen, where you can enter a registration code to license your copy of FieldGenius. Press the Run Demo Mode button if you see this screen.

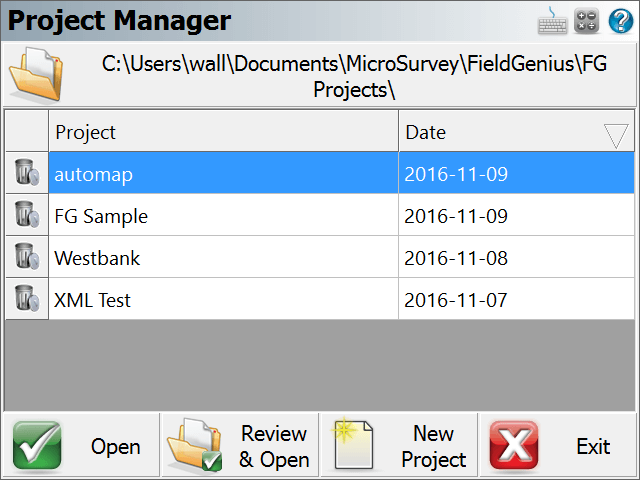
Next, the Project Manager appears. Press the New Project button to create a new Project.
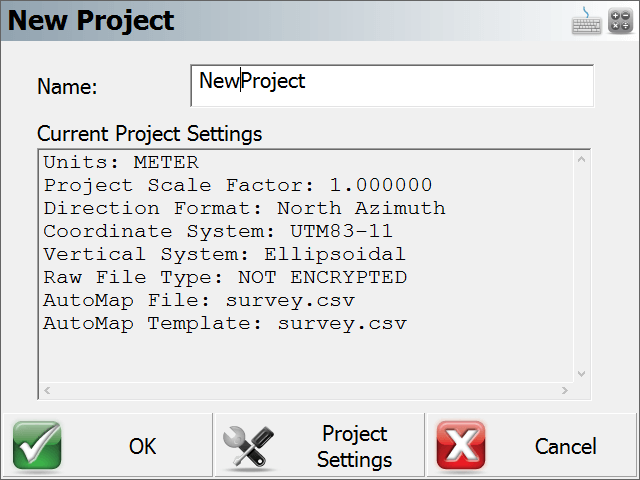
Enter a name for your new Project. You can press OK to accept the settings and continue. If you need to change any of the settings, press the Project Settings button.
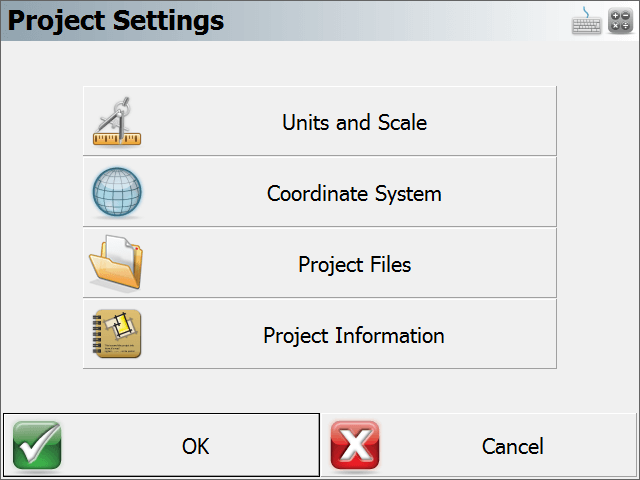
Project Settings
The Project Setting screen allows you to refine the various aspects of the Project and save them as default for future Projects if desired.
Units and Scale
In the Units and Scale screen, you can specify the units for your Project. Set them as desired, then use the Save As Default button to set these settings as defaults for all subsequent new Projects.

Coordinate System
The Coordinate System screen allows you to select Horizontal and Vertical coordinate systems. These settings are critical for working with GNSS equipment. Use the Save As Default button to set these settings as defaults for all subsequent new Projects.

Project Files
The Project Files screen allows you to specify the Raw File, the AutoMap Library Template File, and Feature List File to use, and whether you want your raw file to be encrypted and/or appended.

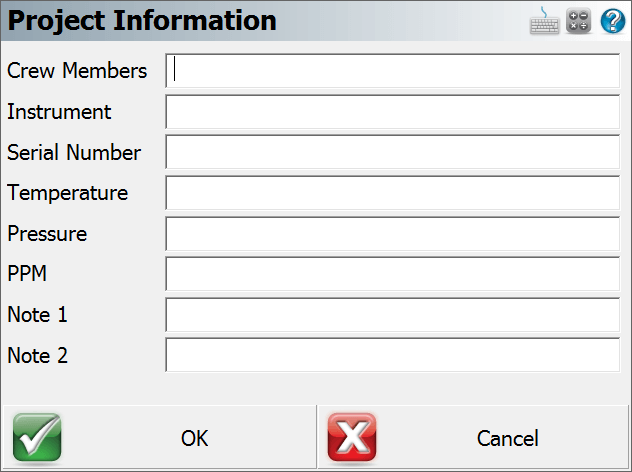
Project Information
The Project Information screen allows you to enter information about the Project, crew and weather conditions.
Press OK on the New Project screen. You will then see the Instrument Selection screen where you are prompted to select the instrument that you want to connect to. Let's set it to Simulator and select Total Station Demo in the Instrument Profile drop down box. Then press Connect to continue. (Note, you will not see this screen if FieldGenius is running onboard your instrument.)

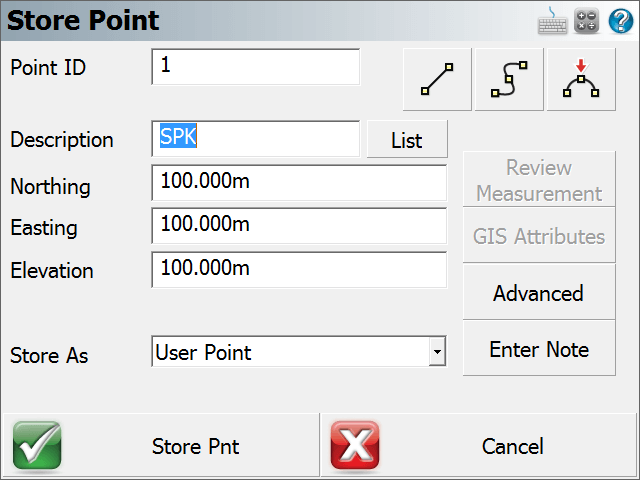
If you selected Total Station or Total Station Demo, you will then see a message asking "Would you like to create a new point now?" Press Yes to open the Store / Edit Points screen. The default coordinates that are displayed are retrieved from the MSurvey.ini file and if you change these coordinates they will be remembered for next time. Selecting No will take you to the main interface.
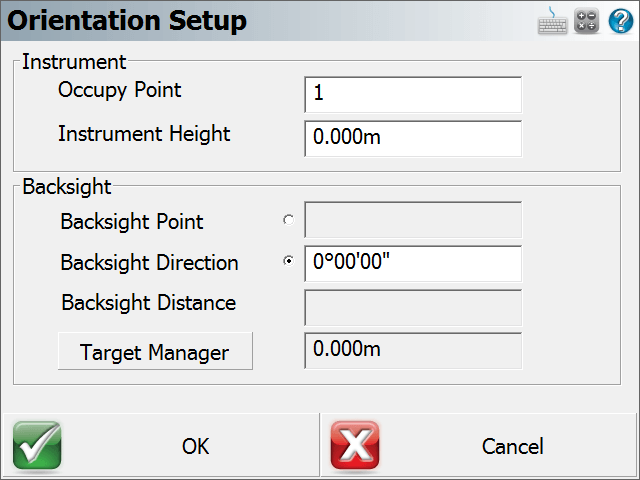
If you chose to create a reference point in the step above, you will be asked "Would you like to setup the instrument at the new point?" Press Yes to open the Orientation Setup screen for measuring your backsight.
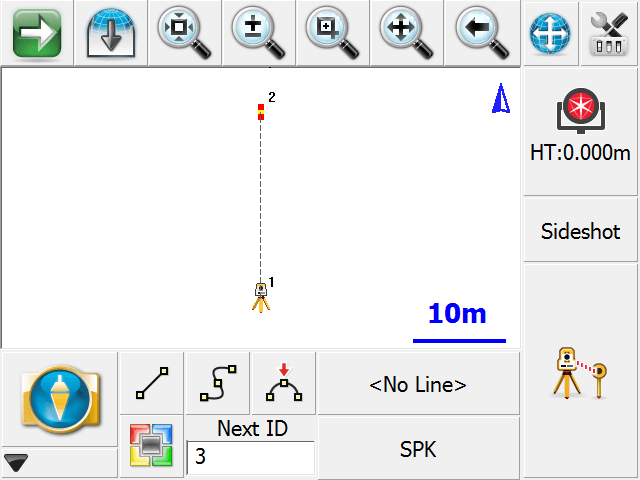
Once you complete the setup routine and have measured your backsight, you will see your setup and backsight positions in the map view.