Auto-Locate - Point On Floor or Ceiling
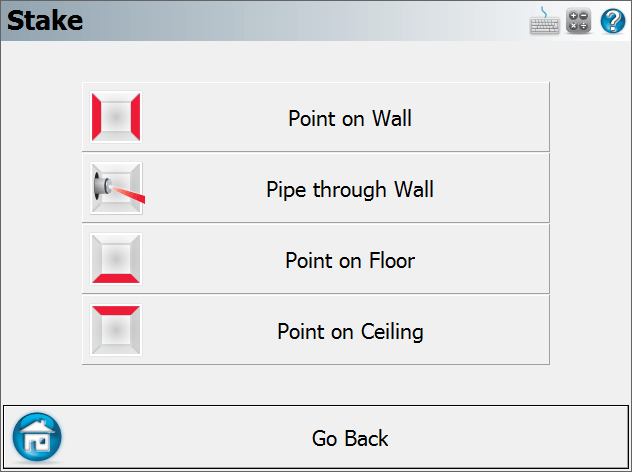
Main Menu | Staking | Point on Floor or Point on Ceiling
The Auto Layout Point on Floor and Point on Ceiling modes are only available for the following equipment:
- Leica 3D Disto
- Robotic Total Station with reflectorless capabilities such as Leica TS, MS and iCON products
These advanced layout modes allow you to compute the position of a point on a floor or ceiling using only the non prism EDM mode. The routine will interpolate and determine the location of the floor or ceiling and will compute the theoretical intersection using the x,y location of the point. The laser pointer on your instrument will point to the location of the layout point. Your layout points don't need to have elevations, and only require x,y coordinates.
MEP Module
This advanced feature is only available when the MEP module is enabled on your license.
Procedure
Enable Auto-Location
The user must first enable the Auto-Locate feature to access the MEP functions. To do this go into the Instrument Settings and click on the "Enable Auto-Location" button. This feature will only be available if the license has the MEP module added.
- Note turning the Auto-Location will automatically turn on the instruments reflectorless laser. Ensure the instrument is not pointing in the direction of you or anyone else.
Operating the MEP Routines Point on Floor and Point on Ceiling
These MEP routines are now accessible from the staking window in Layout Mode. Because the MEP functions are all done with the reflectorless laser you will notice the Target Manager option is now disabled from the instrument Tool Panel and only an instrument height is required when orientating.
After the instrument has been orientated, select the point you wish to stake out from the Map View Screen and press the Staking icon and indicate whether you wish to layout the point on the ceiling or the floor. The instrument will then take two shots to determine where the ceiling or floor is and continue to take observations to auto locate the particular point on that plane. The staking results will be displayed in the observations information window. This will also display the vertical distance from the point staked to the plane it has been staked to.
After the user has selected to stake to either the Point on Ceiling or Point on Floor the screen below will now be displayed.
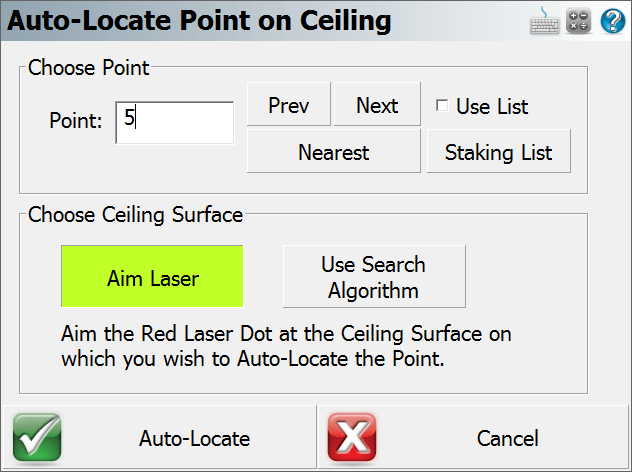
This Auto-Locate options screen allows the user to select how the instrument searches for the point on the plane. It also allows the user to switch the point that needs to be staked.
- Aim Laser - This option will require the user to point the instrument at the desired surface to stake the point to.
- Use Search Algorithm - This option will automatically take as many observations as need to define the surface to stake the point to.
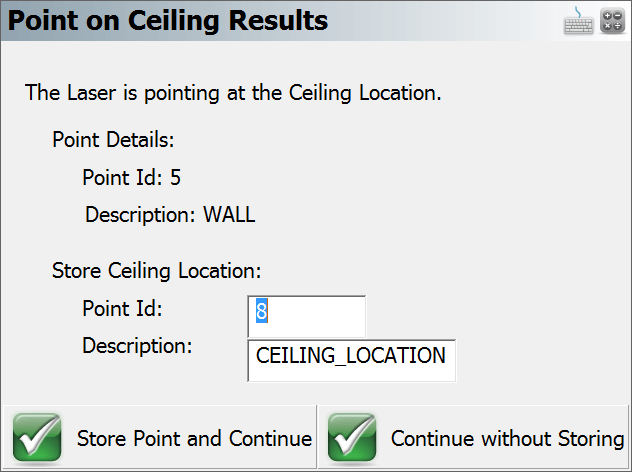
After the routine has located the point on the surface the staking results screen will pop up and will display the point details and also prompt the user to either Store the Point and Continue or Continue without storing. After this has been selected it will take you back to the Stake Point screen for the next point to be laid out.
Target Heights
When using the auto-locate routines you will not need to use a vertical offset. The routine will always default the vertical offset to "No Vertical Offset" and enable "Use Auto-Location".

When you start the routine it will automatically start taking measurements on the floor or ceiling depending on the layout mode selected. The measurements will determine a plane that the design point will be projected onto for layout.
Important Notes
It's important to understand the importance of finding the plane that defines the floor or ceiling. In the following image you will see that a point with coordinates (1,1,0) is being located on the floor and ceiling. Since the laser pointer is being used to locate this point, if all the instrument did was turn to and point at the theoretical position you will see that it would mark a spot clearly in the wrong location.
Layout will determine where the floor or ceiling is by taking several shots to derive a plane. The point is then intersected with this plane and the instrument will then turn to and point directly at the intersection point.

Once the location is marked you can then store it and locate your next point.